THE ADVENTURE COLLECTIVE® · Independent discovery and booking for outdoor travel

Walk Dunedin’s center with a local storyteller and discover Victorian railway tiles, rescued locomotives and cryptic stone carvings. This 90–120 minute guided loop brings history, geology and local gossip together for a compact, accessible city adventure.
Walk Dunedin’s center with a local storyteller and discover Victorian railway tiles, rescued locomotives and cryptic stone carvings. This 90–120 minute guided loop brings history, geology and local gossip together for a compact, accessible city adventure.
You step off the Octagon and the city opens like a history book written in stone and tile. Rain clouds sketch the harbor; the Dunedin Railway Station crouches ahead with its Royal Doulton tiles and mosaic floor, half a million pieces that catch the light even through scaffolding. The guide’s voice threads together architecture, scandal and steam as you move from tiled foyers to lamp-lit streets.
Verified experiences and guided adventures in the surrounding area.
Operated by Tales From Darkest Dunedin · Dunedin, Otago
You step off the Octagon and the city opens like a history book written in stone and tile. Rain clouds sketch the harbor; the Dunedin Railway Station crouches ahead with its Royal Doulton tiles and mosaic floor, half a million pieces that catch the light even through scaffolding. The guide’s voice threads together architecture, scandal and steam as you move from tiled foyers to lamp-lit streets.
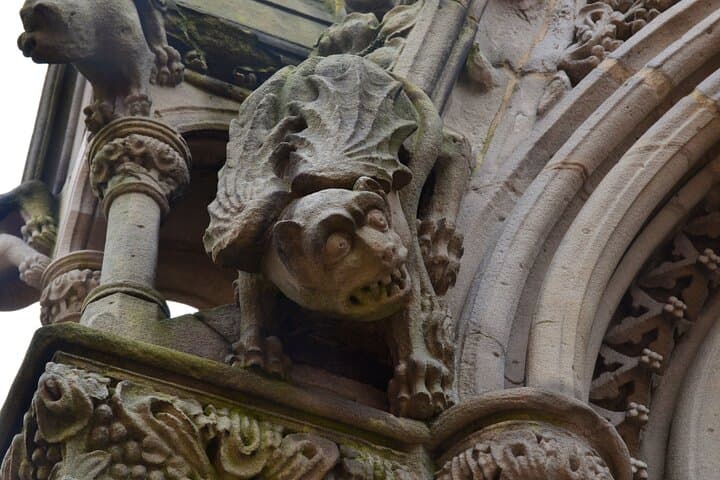
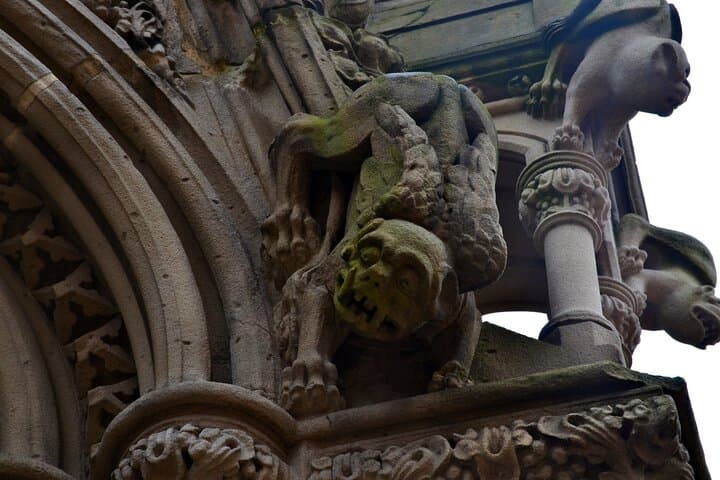
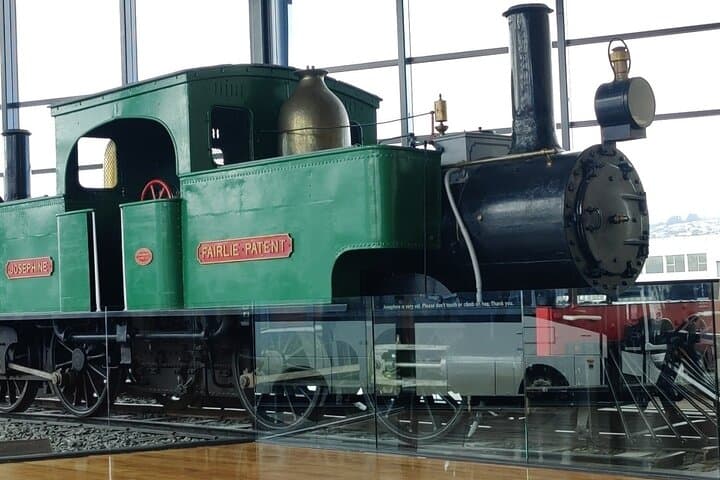
This tour lays out Dunedin’s dual stories: the Kai Tahu presence on coastal plains and the 19th-century Scottish settlers who reshaped the town during the gold rush. Buildings here pair volcanic basalt with pale Oamaru stone; the geology underfoot—old lava flows and estuarine sediments—helped shape where streets and wharves landed. Cultural touches appear in unexpected places: the carved monkeys in the Exchange, the rescued Josephine locomotive at Toitu, and the social history of Broadway’s old storefronts.
Expect a brisk 90–120 minute loop that moves steadily but without steep climbs. Highlights include Queens Gardens, the Railway Station foyer, the Exchange sculptures and a finish near Speight’s brewery if you want a beer afterward. The guide’s research surfaces local anecdotes you probably won’t find in guidebooks.
Practical notes: the route is largely flat and wheelchair accessible; wear waterproof layers and comfortable walking shoes—Dunedin weather changes fast. Bring a small daypack, a charged camera, and a sense of curiosity. Public transport and short taxi runs connect easily if you want to extend the exploration to Baldwin Street or Tunnel Beach after the walk.
easy.
1.5–2 hours.
Light activity; you should be able to stand and walk steadily for up to two hours with short pauses.
The guided loop runs about 90–120 minutes and covers a mostly flat, compact route through central Dunedin—plan on light walking for up to two hours.
Yes; the route and surfaces are listed as wheelchair accessible and suitable for most mobility needs—notify the operator of any special requirements when booking.
Tours may be canceled for poor weather or insufficient participants; check the operator’s cancellation policy and dress in layers to handle wind and rain.
The itinerary includes entry to the station foyer area and finishes near Speight’s—visiting Speight’s restaurant or gift shop is optional and may require separate purchase.
Dunedin grew rapidly in the 1860s gold rush under strong Scottish influence; many civic buildings use local basalt and imported Oamaru stone tied to that boom.
Heritage preservation is active in Dunedin—visitors should stick to paths and respect restoration works; wildlife on nearby coasts is protected, so observe at a distance.
Tales From Darkest Dunedin operates guided outdoor trips and adventures with an emphasis on safety, stewardship, and memorable experiences.

You step off the Octagon and the city opens like a history book written in stone and tile. Rain clouds sketch the harbor; the Dunedin Railway Station crouches ahead with its Royal Doulton tiles and mosaic floor, half a million pieces that catch the light even through scaffolding. The guide’s voice threads together architecture, scandal and steam as you move from tiled foyers to lamp-lit streets.
You step off the Octagon and the city opens like a history book written in stone and tile. Rain clouds sketch the harbor; the Dunedin Railway Station crouches ahead with its Royal Doulton tiles and mosaic floor, half a million pieces that catch the light even through scaffolding. The guide’s voice threads together architecture, scandal and steam as you move from tiled foyers to lamp-lit streets.
This tour lays out Dunedin’s dual stories: the Kai Tahu presence on coastal plains and the 19th-century Scottish settlers who reshaped the town during the gold rush. Buildings here pair volcanic basalt with pale Oamaru stone; the geology underfoot—old lava flows and estuarine sediments—helped shape where streets and wharves landed. Cultural touches appear in unexpected places: the carved monkeys in the Exchange, the rescued Josephine locomotive at Toitu, and the social history of Broadway’s old storefronts.
Expect a brisk 90–120 minute loop that moves steadily but without steep climbs. Highlights include Queens Gardens, the Railway Station foyer, the Exchange sculptures and a finish near Speight’s brewery if you want a beer afterward. The guide’s research surfaces local anecdotes you probably won’t find in guidebooks.
Practical notes: the route is largely flat and wheelchair accessible; wear waterproof layers and comfortable walking shoes—Dunedin weather changes fast. Bring a small daypack, a charged camera, and a sense of curiosity. Public transport and short taxi runs connect easily if you want to extend the exploration to Baldwin Street or Tunnel Beach after the walk.